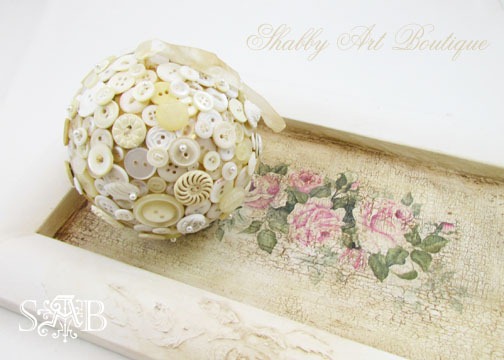
I’ve done something today that some of you may consider. . . unthinkable.
I delved into my vintage button collection. . . and used about 100 of them.
But before anyone has heart flutters, think of it this way. . . instead of storing them in a bottle they are now on a hanging ball and I can still see them every day.
Pssst. . . I’ll let you in on a secret. . . come a bit closer. . . I actually have quite a few more bottles of vintage white and cream buttons on the button shelf!
Now let me tell you how you can make your own vintage button ball. You’ll need a polystyrene ball (any size), I used quite a large one. I painted my ball with one coat of DecoArt Antique White to give it a nice warm patina behind the buttons. It doesn’t matter if the paint is not opaque.
I used some pretty crinkled, tea stained ribbon for a vintage look hanger. If you’d like to make your own, the lovely Lori over at
Katie’s Rose Cottage has a great tutorial on how she makes her
vintage look ribbon.
Tip: I’ve found the easiest way to work with styrene balls is to rest them in a cup so they can’t roll.
Using a hot glue gun, attach your ribbon hanger and start adding buttons side-by-side. Fill any gaps by layering buttons. I also added a few highlight buttons using pretty pearl sewing pins.
At the base of my ball I added a large 1” diameter button. It acts like a stand to hold my ball upright so it won’t roll around if placed on a flat surface.
So there you have it. . . a beautiful vintage cream and white delight.
Well, I guess now that I’m one bottle of buttons down I’ll have to go thrifting again this week to re-stock!! [smile]
Creative hugs ~ Kerryanne
